Visual Regression Testing for Three.js Scenes
How to screenshot-test WebGL and WebGPU renderers with Playwright, and the cross-platform pitfalls you'll hit along the way.
- Three.js
- React Three Fiber
- Playwright
- WebGPU
- Testing
Testing 3D scenes is one of those problems that sounds simple until you try it. Unit tests can verify your data layer, and type-checking keeps your props honest, but neither tells you whether the thing actually renders correctly. A broken shader, a mispositioned camera, a material that silently falls back — these are visual bugs, and they need visual tests.
I spent some time setting up visual regression testing for a project that renders both WebGL and WebGPU scenes side by side using React Three Fiber. The setup works, ships to CI, and catches real regressions. Here’s what I learned.
The stack
The project is intentionally minimal — a single page with two canvases showing the same geometry rendered through different backends. The point isn’t the scene; it’s the testing infrastructure around it.
- Astro as the static site framework
- React Three Fiber + Drei for declarative Three.js
- Three.js r186 with both the default WebGL renderer and the new
WebGPURenderer - Playwright for E2E and screenshot comparison
- Docker to solve cross-platform snapshot consistency
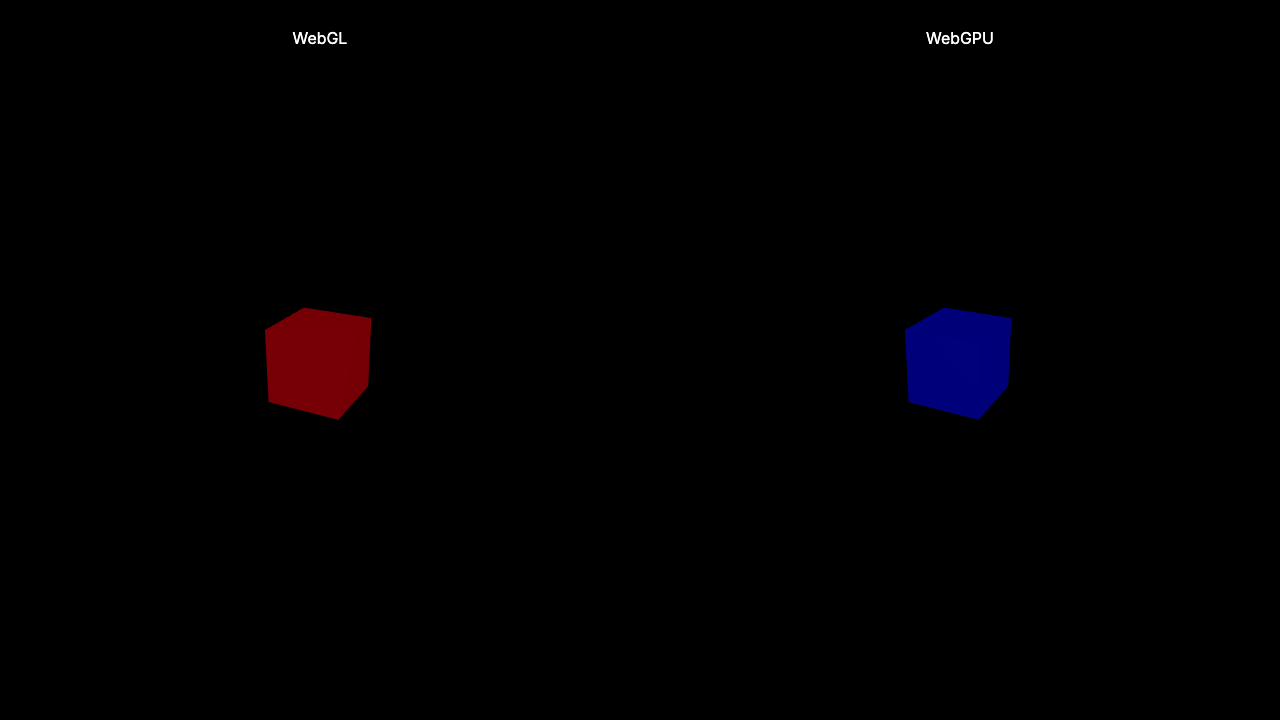
Test scene: the same cube rendered with WebGL (left) and WebGPU (right)
Two renderers, one scene
The scene component accepts an engine prop that controls which renderer and material system to use. For WebGL, it’s the standard R3F Canvas. For WebGPU, we pass an async factory function that creates and initializes a WebGPURenderer:
import {Canvas} from '@react-three/fiber';
import {WebGPURenderer} from 'three/webgpu';

function getGl(engine: 'webgl' | 'webgpu') {
  if (engine === 'webgl') return undefined;
  return async (props: RendererParameters) => {
    const renderer = new WebGPURenderer(props);
    await renderer.init();
    return renderer;
  };
}

type SceneProps = {
  engine: 'webgl' | 'webgpu';
};

export function Scene({engine}: SceneProps) {
  return (
    <Canvas camera={{position: [2.5, 2.5, 5.0]}} gl={getGl(engine)}>
      <OrbitControls enableZoom={false} enablePan={false} />
      <ambientLight />
      <Box engine={engine} />
    </Canvas>
  );
}
The WebGPU path uses TSL (Three Shading Language) node materials. To use them declaratively in R3F, you need to extend the element registry:
import {extend} from '@react-three/fiber';
import * as THREE from 'three/webgpu';

extend({
  MeshPhysicalNodeMaterial: THREE.MeshPhysicalNodeMaterial,
});
With that in place, the Box component picks the right material based on the engine:
function Box({engine}: BoxProps) {
  return (
    <mesh>
      <boxGeometry />
      {engine === 'webgl' && <meshPhysicalMaterial color={0xcc1122} />}
      {engine === 'webgpu' && <meshPhysicalNodeMaterial color={0x1122cc} />}
    </mesh>
  );
}
Different colors per renderer make it immediately obvious which backend is active — red for WebGL, blue for WebGPU.
Writing the tests
The tricky part of screenshot-testing a Three.js scene is knowing when to take the screenshot. The canvas doesn’t render on the first paint — the renderer needs to initialize, the scene graph needs to build, and for WebGPU, there’s an async init() step. Take the screenshot too early and you’ll compare against a blank canvas.
Three.js stamps a data-engine attribute on the canvas element once the renderer is ready. This is the hook:
async function expectThreeCanvas({
  locator,
  engine = 'webgl',
}: {
  locator: Locator;
  engine: 'webgl' | 'webgpu';
}): Promise<void> {
  const canvas = locator.locator('canvas[data-engine]');
  await expect(canvas).toBeVisible();

  const engineAttr = await canvas.evaluate((el) =>
    el.getAttribute('data-engine'),
  );
  if (engine === 'webgl') {
    await expect(engineAttr).toBe('three.js r186');
  } else {
    await expect(engineAttr).toBe('three.js r186 webgpu');
  }
}
This does two things at once: it waits for the renderer to be ready, and it verifies that the correct renderer initialized. A WebGPU scene that silently falls back to WebGL would fail here — exactly the kind of regression you want to catch.
With that guard in place, the visual test itself is straightforward:
test('renders scenes @visual', async ({page}) => {
  const sceneWebGL = page.locator('.scene').nth(0);
  const sceneWebGPU = page.locator('.scene').nth(1);

  await expectThreeCanvas({locator: sceneWebGL, engine: 'webgl'});
  await expectThreeCanvas({locator: sceneWebGPU, engine: 'webgpu'});

  await expect(page).toHaveScreenshot();
});
Playwright’s toHaveScreenshot() handles the pixel-level comparison. On the first run it creates a baseline PNG; on subsequent runs it diffs against it and fails if the images diverge.
The same tests run across several Playwright projects — desktop Chromium, Firefox and WebKit, plus mobile Chromium (Pixel 5) and mobile Safari (iPhone 12). One exception: headless Firefox on Linux has no WebGL context, so the scene tests skip it there:
function skipIfUnsupported({browserName}: {browserName: string}): void {
  test.skip(
    browserName === 'firefox' && process.platform === 'linux',
    'Headless Firefox on Linux has no WebGL context',
  );
}
The cross-platform problem
Here’s where things get interesting. Run the same test on macOS and Linux, and you’ll get different screenshots. Not because the scene changed — because the rendering pipeline is different. GPU drivers, font rasterizers, antialiasing behavior, software rendering fallbacks — all of these produce pixel-level differences between platforms.
This matters because your CI probably runs on Linux while you develop on macOS.
Heads up
The screenshots will differ between operating systems. Playwright stores snapshots with a project and platform suffix (chromium-darwin vs chromium-linux), so it knows which baseline to compare against. But you need both baselines to exist.
The solution: run the tests inside Docker locally to generate the Linux baselines, then commit both sets. The image is built on top of the official Playwright one, with dependencies installed and the site built inside the container:
FROM mcr.microsoft.com/playwright:v1.63.0-noble

WORKDIR /app

RUN npm install -g pnpm@12

COPY package.json pnpm-lock.yaml pnpm-workspace.yaml ./
RUN pnpm install --frozen-lockfile

COPY . .
RUN pnpm build
Paired with a .dockerignore, so the host’s build output and macOS-specific node_modules never leak into the image:
node_modules
dist
.astro
playwright-report
test-results
A short shell script builds the image and runs the tests in a container:
#!/usr/bin/env bash
set -euo pipefail

docker build -t three-visual-testing-e2e .

docker run --rm --init --ipc=host \
  -v "$(pwd)/tests-e2e:/app/tests-e2e" \
  -v "$(pwd)/test-results:/app/test-results" \
  -v "$(pwd)/playwright-report:/app/playwright-report" \
  three-visual-testing-e2e \
  /bin/bash -c '
    pnpm test:e2e "$@"
  ' bash "$@"
A few details worth noting:
- Pin the image version to match your Playwright npm package. The
v1.63.0-nobletag corresponds exactly to@playwright/test@1.63.0. - Mount only what the tests produce. The tests directory (so updated snapshots land back on the host),
test-results, andplaywright-report. The rest of the project lives inside the image, so the container never touches your hostnode_modules— no need to re-runpnpm installafterwards. --ipc=hostis required for Chromium’s shared memory. Without it, the browser can run out of memory and crash.--initruns a tiny init process as PID 1, so signals are forwarded and the browser processes get reaped properly.
For more details, see the official Playwright Docker docs (opens in a new tab).
To regenerate Linux baselines from macOS:
pnpm test:e2e:docker --update-snapshots
The resulting snapshot directory looks like this:
tests-e2e/app.spec.ts-snapshots/renders-scenes-visual-1-chromium-darwin.png(macOS)renders-scenes-visual-1-chromium-linux.png(CI)- … (same goes for other browsers —
webkit,firefox, etc.) has-2-scenes-1.aria.yml(a11y snapshot)has-2-scenes-2.aria.yml(a11y snapshot)
All PNGs go into version control. When CI runs on Linux, Playwright picks the *-linux baselines automatically.
Making scenes deterministic
Visual regression tests are only useful if the scene renders identically every time. Any source of randomness or interactivity becomes a source of flaky tests. For this demo, the constraints are simple — disable zoom and pan on OrbitControls, no animations, fixed camera position.
Real-world scenes are harder. Take kinect-stretch (opens in a new tab), a separate project of mine: a particle cloud driven by a Kinect depth video, with post-processing on top. Every frame of the live scene (opens in a new tab) is different, which makes it impossible to screenshot as is. Here are three patterns that make it testable:
1. Static mode via props
Pass an isStatic prop down through the scene tree. When true, disable OrbitControls entirely and freeze any animated components. Your E2E tests render the static variant; your production app renders the interactive one.
2. Lock post-processing randomness
Effects like film grain, chromatic aberration, or custom passes often use random uniforms that change every frame. When in static mode, lock those uniforms to a fixed seed value.
3. Freeze video textures
If your scene uses video textures, don’t play the video in static mode. Instead, seek to a specific frame controlled by a query parameter as an option.
This lets your E2E test pick a known frame, giving you a reproducible screenshot every time. In kinect-stretch, the static page (opens in a new tab) renders the frame at 0 seconds by default, and any other moment of the video is one query parameter away:
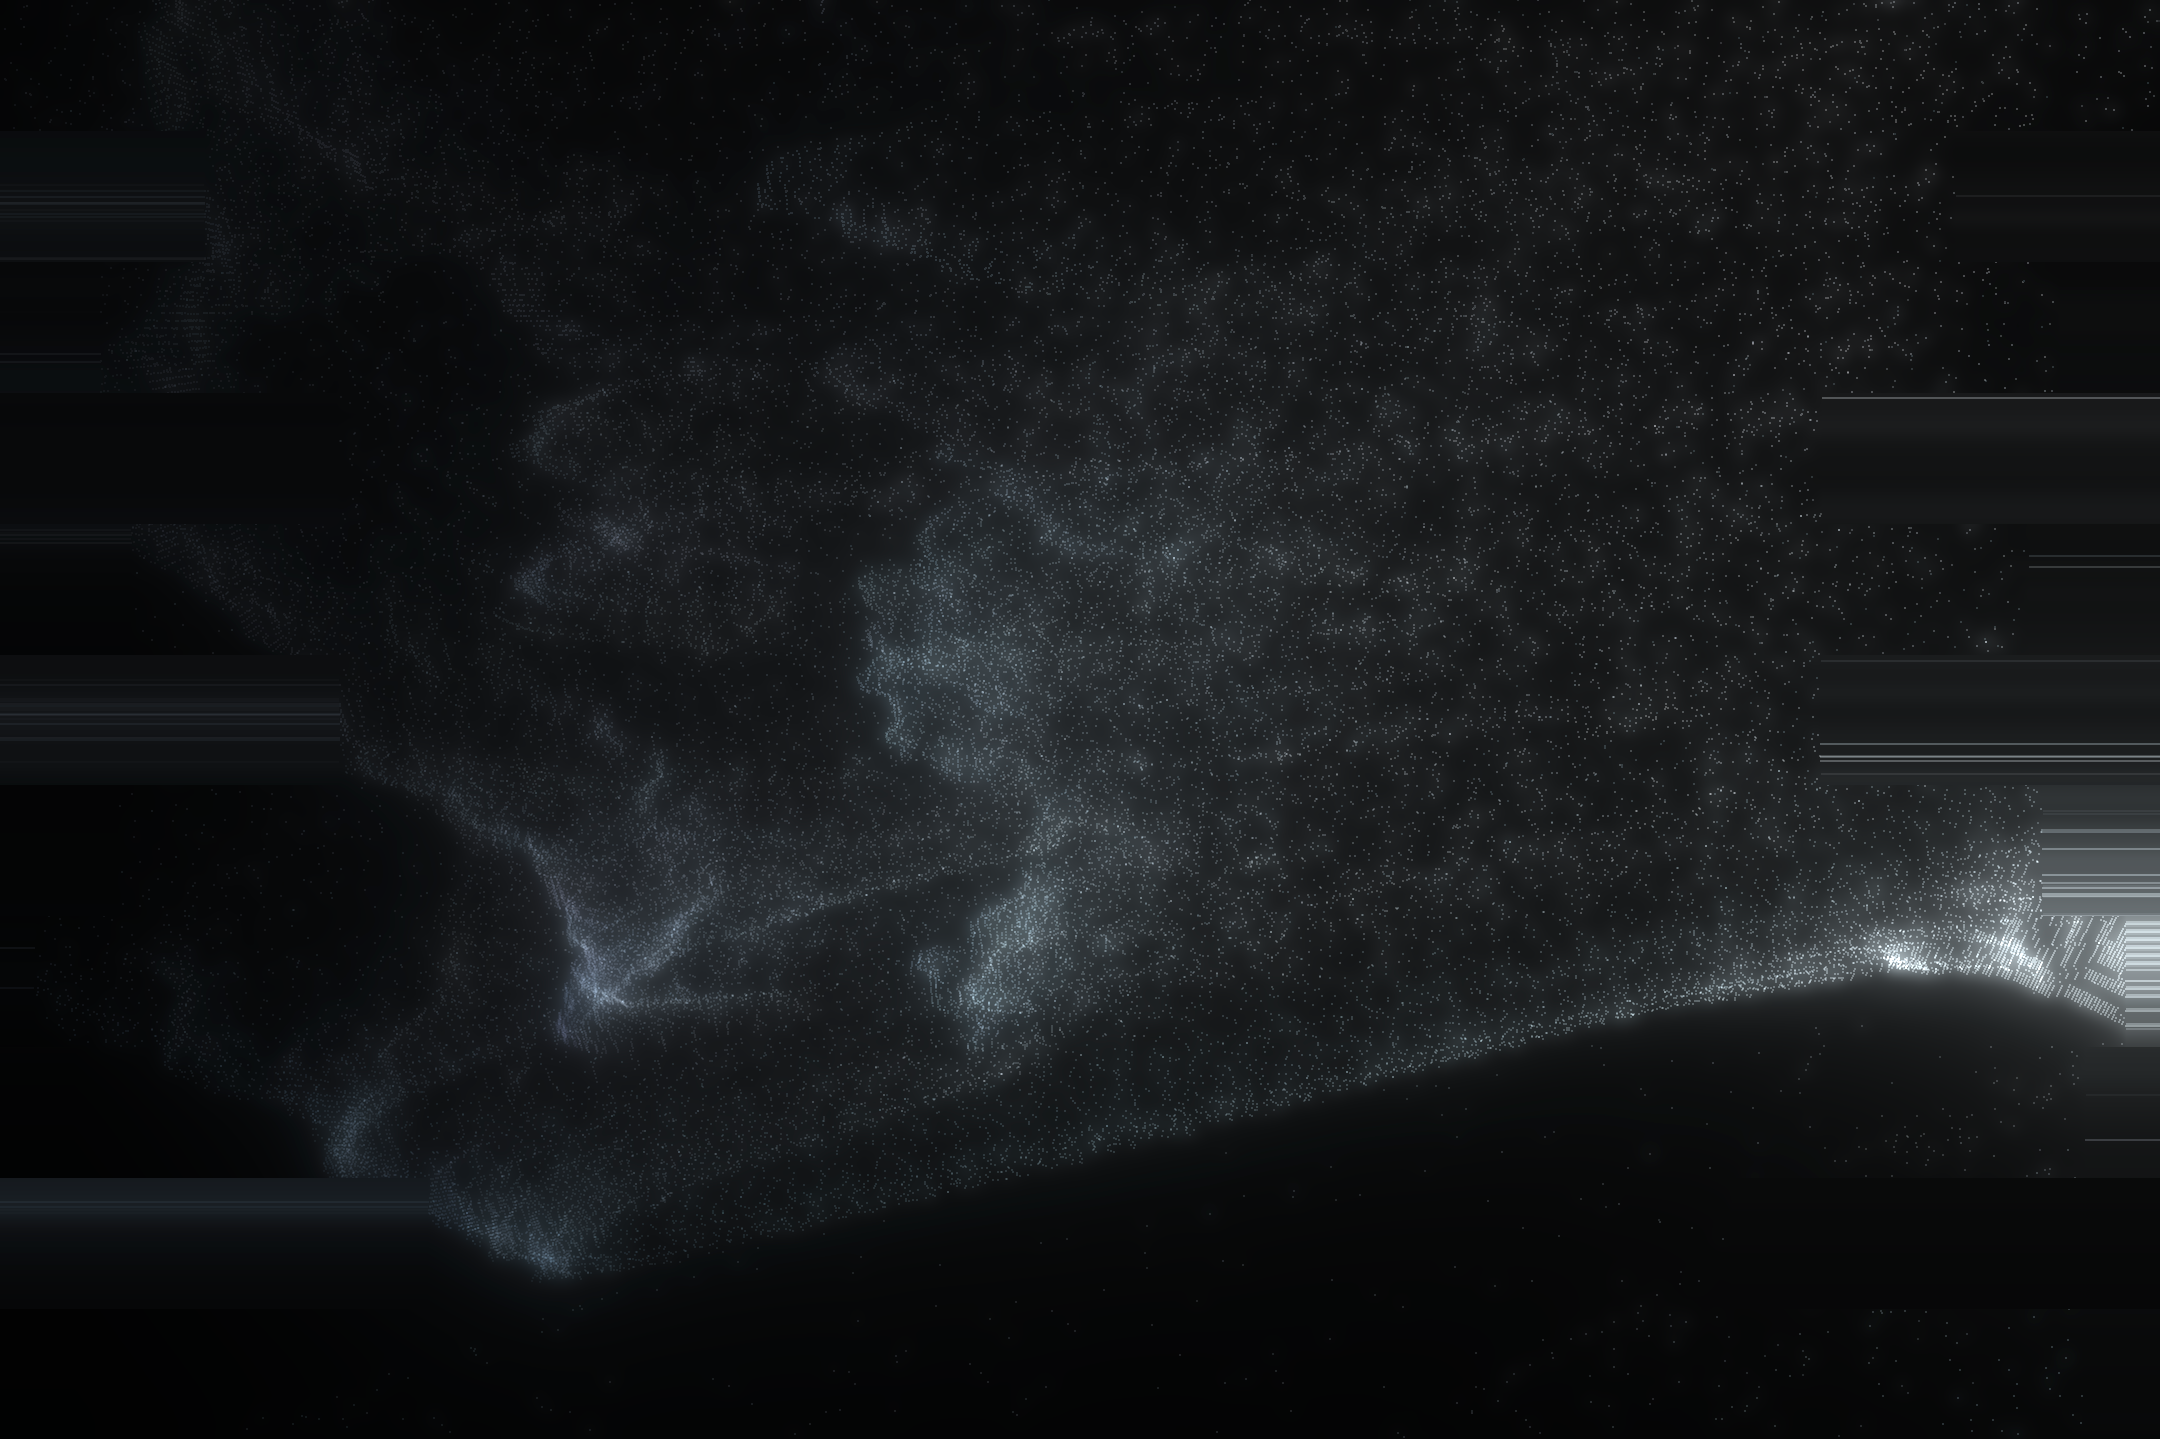
Static scene at ?videoCurrentTime=0.24 (opens in a new tab) second
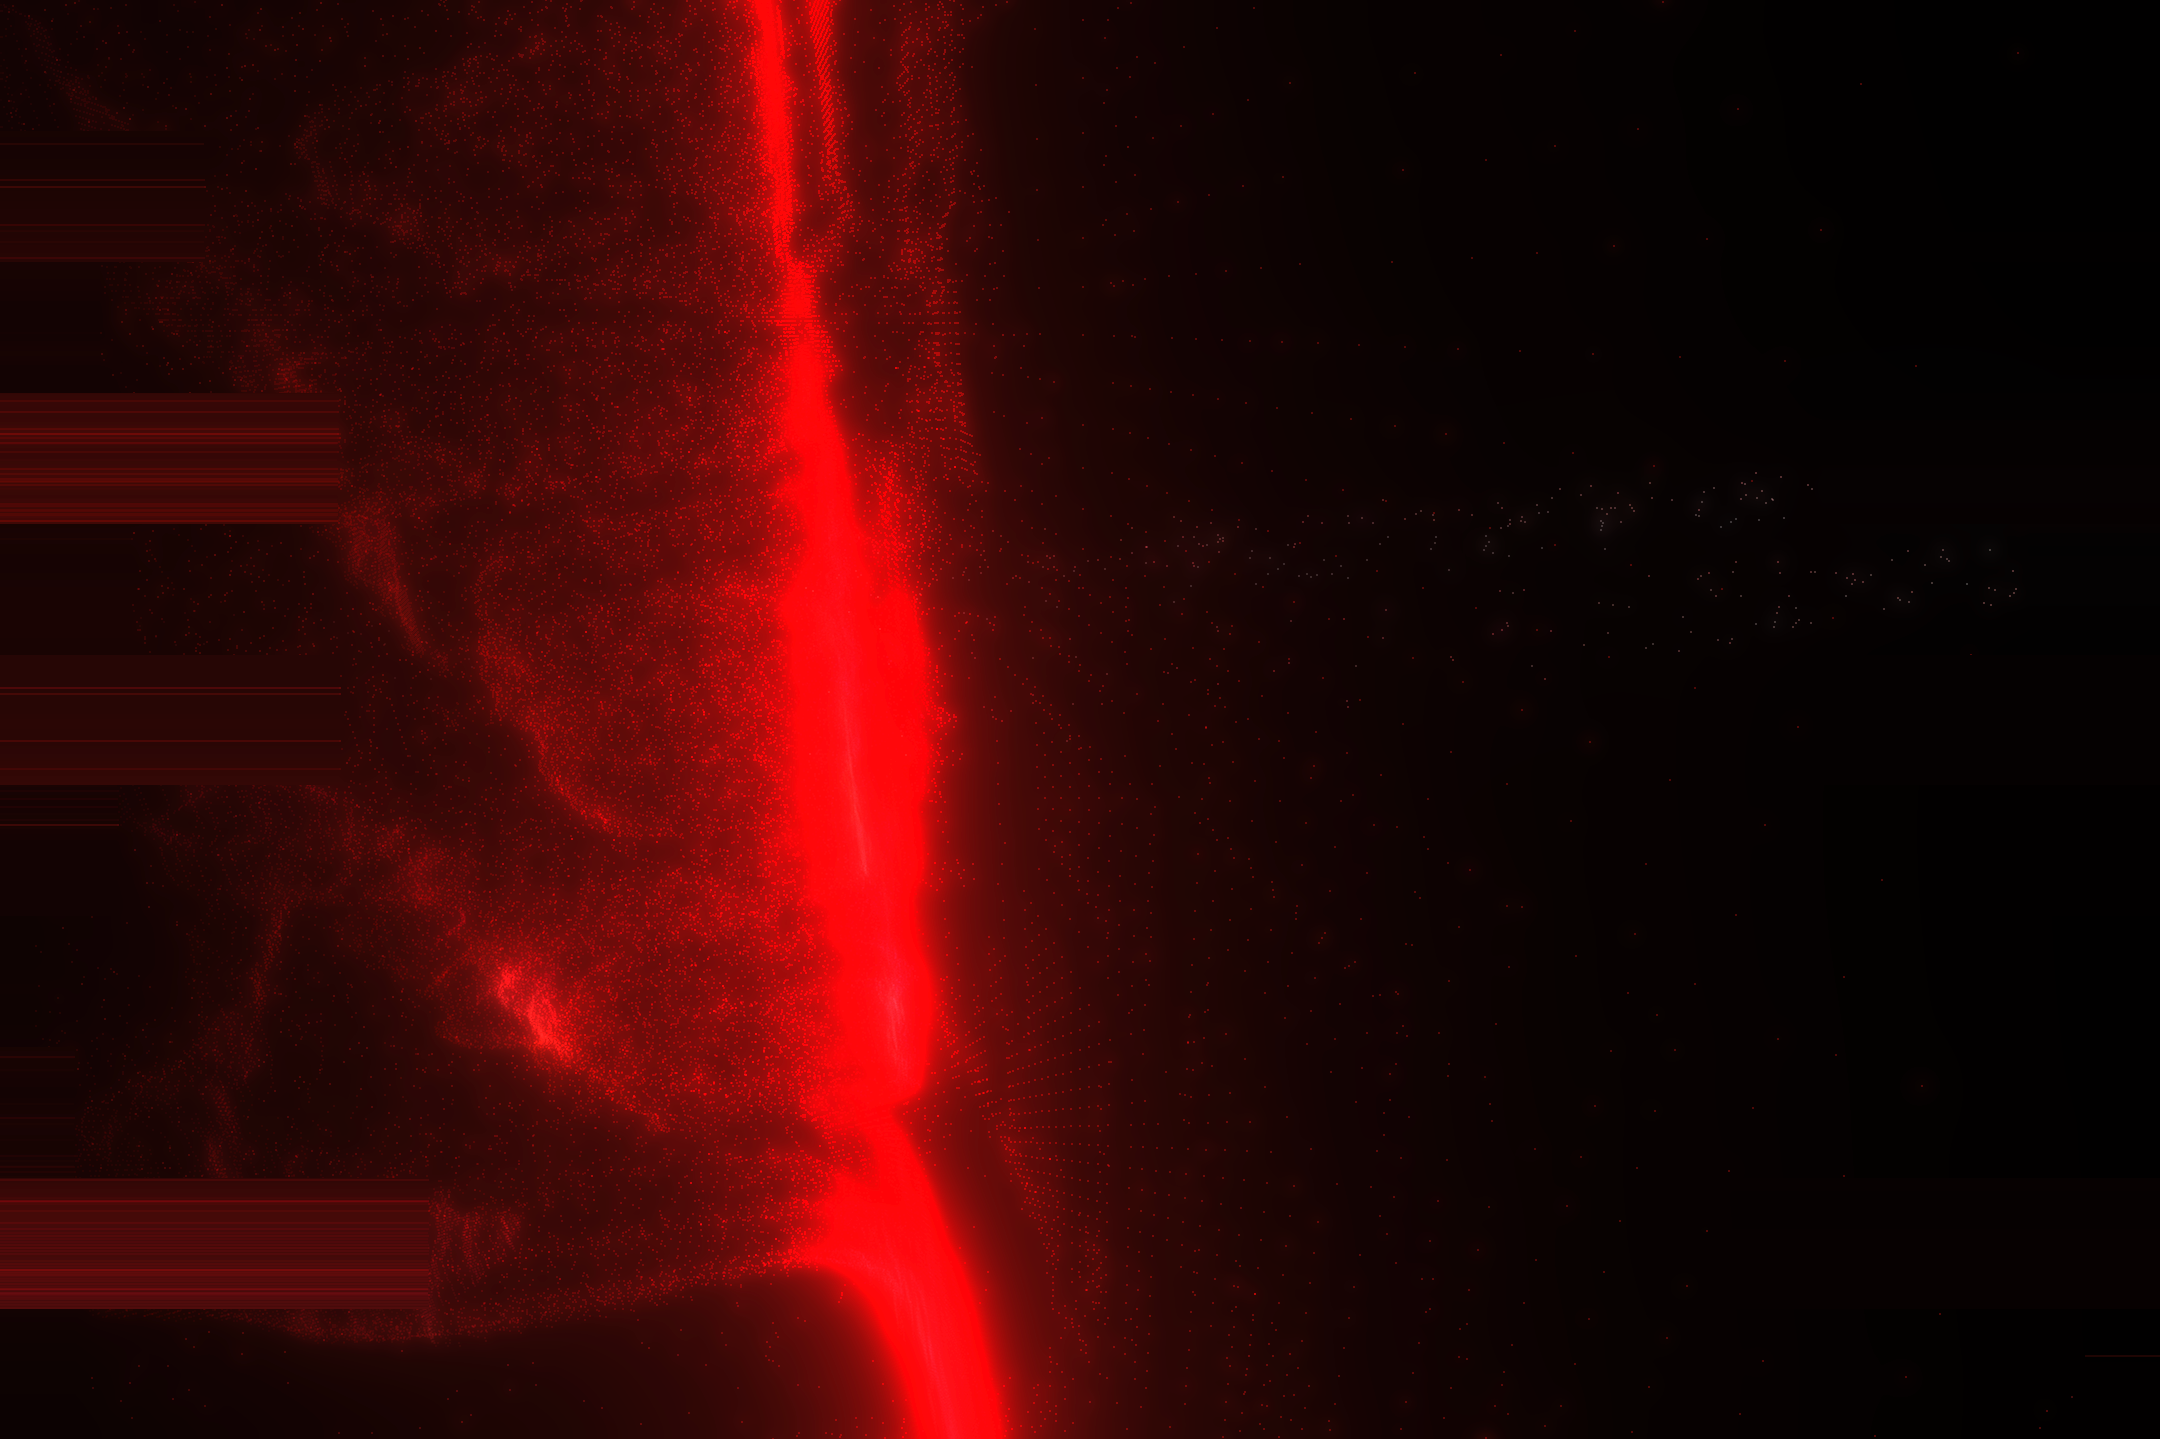
Static scene at ?videoCurrentTime=0.32 (opens in a new tab) second
Same URL, same pixels, on every run.
- Final result: satelllte.github.io/kinect-stretch (opens in a new tab)
- Repository: satelllte/kinect-stretch (opens in a new tab)
The CI pipeline
CI runs inside the same Playwright Docker image the Dockerfile is based on, to match the Linux baselines exactly:
test:
  runs-on: ubuntu-latest
  container:
    image: mcr.microsoft.com/playwright:v1.63.0-noble
    options: --user 1001
  steps:
    - name: Checkout repository
      uses: actions/checkout@v7
    - name: Setup pnpm
      uses: pnpm/action-setup@v6
      with:
        version: 12
    - name: Install dependencies
      run: pnpm install --frozen-lockfile
    - name: Build
      run: pnpm run build
    - name: Test (e2e)
      run: pnpm run test:e2e
The key: CI uses the same base image as the local Dockerfile. Same browser versions, same system libraries, same rendering output. If you bump Playwright in package.json, bump the image tag in both the Dockerfile and the CI workflow. The same goes for the pnpm version.
Playwright is configured to use a single worker on CI with retries, and to serve the built site via astro preview rather than the dev server — testing the production build, not the dev build:
defineConfig({
  retries: process.env.CI ? 2 : 0,
  workers: process.env.CI ? 1 : undefined,
  webServer: {
    command: 'exec node node_modules/astro/bin/astro.mjs preview',
    url: 'http://localhost:4321/three-visual-testing',
    reuseExistingServer: !process.env.CI,
  },
});
The preview server is started with exec node ... instead of pnpm preview, so the server process replaces the shell and gets Playwright’s shutdown signal directly, without a pnpm wrapper in the middle. That matters inside a container, where a leftover server process can keep docker run from exiting.
Skipping visual tests
You may have noticed the @visual tag in the screenshot test name. It’s there on purpose: it makes it easy to leave screenshot tests out of a run entirely. That’s handy if you only ever work on a single OS and don’t need cross-platform baselines at all. Playwright’s --grep-invert can filter them out by name:
- name: Test (e2e) [skip visual]
  run: pnpm run test:e2e --grep-invert @visual
The rest of the suite, including the data-engine checks and ARIA snapshots, still runs as usual.
What this catches
With this setup running in CI, you get automatic detection of:
- Renderer fallbacks — a WebGPU scene that silently drops to WebGL fails the
data-enginecheck - Three.js version regressions — bumping Three.js changes the engine string and potentially the rendering output
- Material and shader bugs — any change to how the scene looks produces a pixel diff
- Layout regressions — the full-page screenshot catches CSS and sizing changes around the canvases
- Accessibility regressions — ARIA snapshots verify the scene labels remain intact
Takeaways
If you’re considering visual tests for your Three.js project, here’s the short version:
- Use
data-engineas your readiness signal. Don’t guess when the canvas is ready — Three.js tells you. - Run tests against the production build, not the dev server. You want to test what ships.
- Commit baselines for every platform and browser you test on. macOS and Linux will always produce different pixels. Docker bridges the gap.
- Pin your versions. Playwright, the Docker image, and Three.js should all be locked. A version bump is a deliberate baseline update, not a surprise.
- Design for determinism. Disable interactivity, freeze randomness, lock video frames. A flaky test is worse than no test.
The full source is available at satelllte/three-visual-testing (opens in a new tab).
Resources
Projects:
- satelllte/three-visual-testing (opens in a new tab) — the demo project from this article (live (opens in a new tab))
- satelllte/kinect-stretch (opens in a new tab) — the real-world scene with a static mode (live (opens in a new tab), static (opens in a new tab))
Documentation:
- Playwright: Visual comparisons (opens in a new tab)
- Playwright: ARIA snapshots (opens in a new tab)
- Playwright: Docker (opens in a new tab)
- Three.js: WebGPURenderer (opens in a new tab)
- Three.js Shading Language (TSL) (opens in a new tab)
- React Three Fiber (opens in a new tab)
- React Three Fiber: WebGPU (opens in a new tab)
- Drei (opens in a new tab)
- Astro (opens in a new tab)